
Precio FOB
Obtener el precio más reciente3000 ~ 5000 USD / Set ( Negotiable )
|1 Unit Minimum Order
País:
China
N º de Modelo:
ultrasonic flaw detectors
Precio FOB:
3000 ~ 5000 USD / Set ( Negotiable ) Obtener el precio más reciente
Lugar de origen:
-
Precio de pedido mínimo:
3000 per Set
Cantidad de pedido mínimo:
1 Unit
Detalle de embalaje:
carton and wooden box
El tiempo de entrega:
3-7days
Capacidad de suministro:
50 Unit per Month
Tipo de pago:
T/T, Western Union, PayPal
Grupo de productos :
-
China
Persona de contacto Peter
Beijing, Beijing
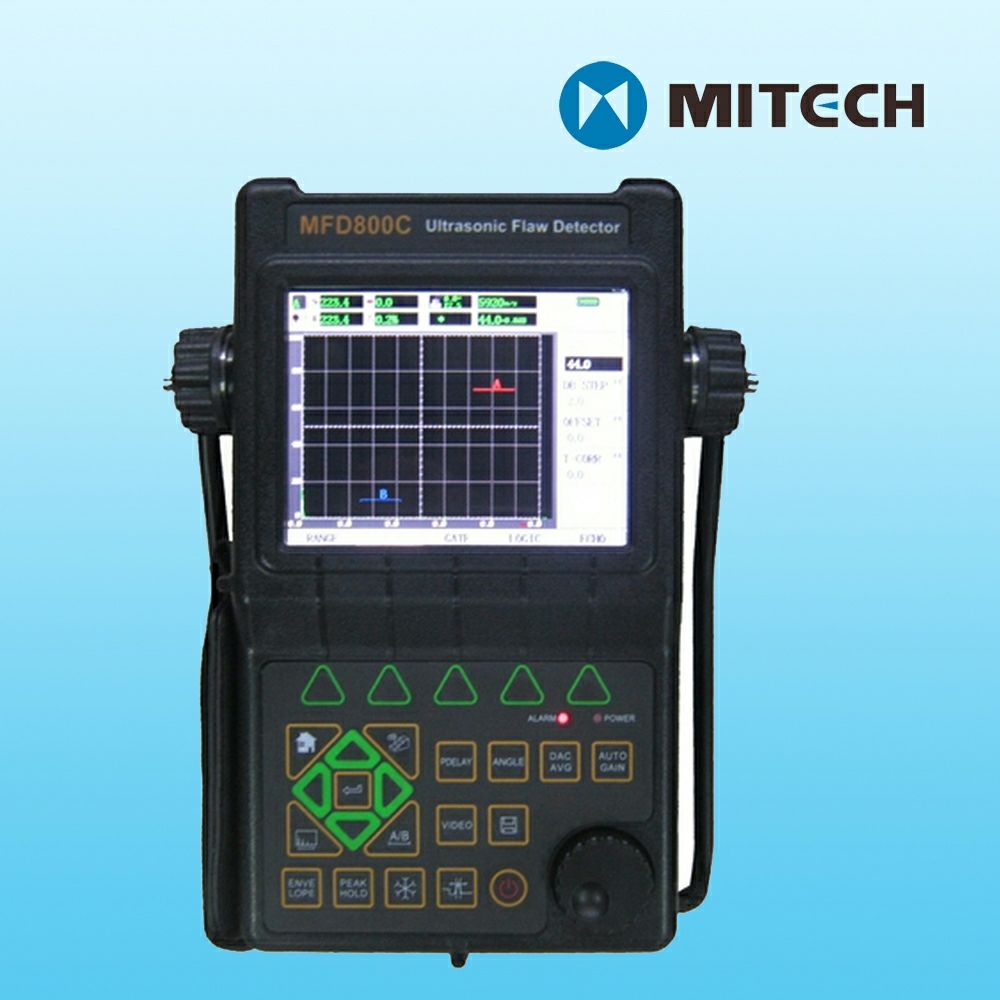
1 Introduction The MFD**0C is an advanced digital ultrasonic flaw
detector featuring a multi-color TFT LCD and a host of new features
to meet challenging inspection requirements. It combines powerful
flaw detection and measurement capabilities, extensive data
storage, and the ability to transfer detailed inspection data to
the PC via its high-speed USB port.
The instrument incorporates many advanced signal processing
features including a *5MHz RF bandwidth to permit testing of thin
materials, narrowband filters to improve signal to noise in high
gain applications, a spike pulser for applications requiring higher
frequencies, and a tunable square wave pulser to optimize
penetration on thick or highly attenuating materials.
The instrument can be widely used in locating and sizing hidden
cracks, voids, disbands, and similar discontinuities in welds,
forgings, billets, axles, shafts, tanks and pressure vessels,
turbines, and structural components. 1.1 Features of the Instrument
The instrument extends the performance and range of applications
that are capable of being satisfied by a portable instrument. The
quality, portability, durability, and dependability that you have
come to expect from the popular Mitech MFD Series of instruments
remain.
Display
Hi-resolution (**0×**0
pixels) multi-color TFT LCD with 4 user-selectable brightness
control provides high contrast viewing of the waveform from bright,
direct sunlight to complete darkness.
The hi-resolution multi-color TFT LCD display with fast *0 Hz
update gives an “analog look” to the waveform providing detailed
information that is critical in many applications including nuclear
power plant inspections.
Range
Up to ***9 mm in steel; range selectable in fixed steps or
continuously variable. Suitable for use on large work pieces and in
high-resolution measurements.
Pulser
Pulse Energy selectable among **0V, **0V, **0V, **0V and **0V..
Pulse Width tunable from 0.1µs to 0.5 µs to match the probes with
different frequency.
Pulse Repetition Frequency adjustable from *0 Hz to 1 KHz in 1 Hz
increments.
Damping selectable among *8Ωã€**0Ωã€**0Ω and **0Ω for optimum probe performance
Test Modes include Pulse echo, dual and thru-transmission
Receiver
Sampling:*0 digit AD
Converter at the sampling speed of **0 MHz
Rectification:Positive
Halfwave, Negative Halfwave, Fullwave and RF
Analog Bandwidth: 0.5MHz to *5MHz capability with selectable
frequency ranges (automatically set by the instrument) to match
probe for optimum performance.
Gain:0 dB to **0 dB
adjustable in selectable steps 0.1 dB, 2 dB, 6 dB, and locked.
Gates
Two fully independent gates offer a range of measurement options
for signal height or distance using peak triggering.
The echo-to-echo mode allows accurate gate positioning for signals
which are extremely close together.
Gate Start: Variable over entire displayed range
Gate Width: Variable from Gate Start to end of displayed range
Gate Height: Variable from 0 to *9% Full Screen Height
Alarms: Threshold positive/negative
Memory
Memory of ***0 channel files to store calibration set-ups
Memory of ****0 wave files to store A-Scan patterns and instrument
settings.
All the files can be stored, recalled and cleared.
Video Recorder
Screen scenes can be captured as movie files. More than *0
hours movie can be saved to the inside memory. They can be
re-played using the instrument or the PC software delivered with
the instrument.
Video Recorder is useful in many situations, it is very convenient
for those who want to analyze the probing activities later.
Functions
| País: | China |
| N º de Modelo: | ultrasonic flaw detectors |
| Precio FOB: | 3000 ~ 5000 / Set ( Negotiable ) Obtener el precio más reciente |
| Lugar de origen: | - |
| Precio de pedido mínimo: | 3000 per Set |
| Cantidad de pedido mínimo: | 1 Unit |
| Detalle de embalaje: | carton and wooden box |
| El tiempo de entrega: | 3-7days |
| Capacidad de suministro: | 50 Unit per Month |
| Tipo de pago: | T/T, Western Union, PayPal |
| Grupo de productos : | - |